Step by Step Guide for Users "Navigation"
Unlock the full potential of our user dashboard! Seamlessly manage devices, send personalized messages, and explore the simplicity of chatbots. Stay organized with message logs, contact lists, and hassle-free settings. Elevate your WhatsApp experience effortlessly!
After successfully login as a customer you will redirect to user/dashboard
How to create a device
click to My Devices > Create Device option from user sidebar
Enter device name for identification
Scan the QR code from your WhatsApp app > Linked devices > Link a device
After successfully scanning the device, the success alert will show, and the features buttons will appear.
How to send a message to a single person
click to Single Send option from the user sidebar
APPS or API integration
click to My Apps option from the user sidebar
(Auth) Authentication Key
click to Auth Key option from the user sidebar
Auth Key used for integrating API with your custom app using this key to verify if the user is valid or not
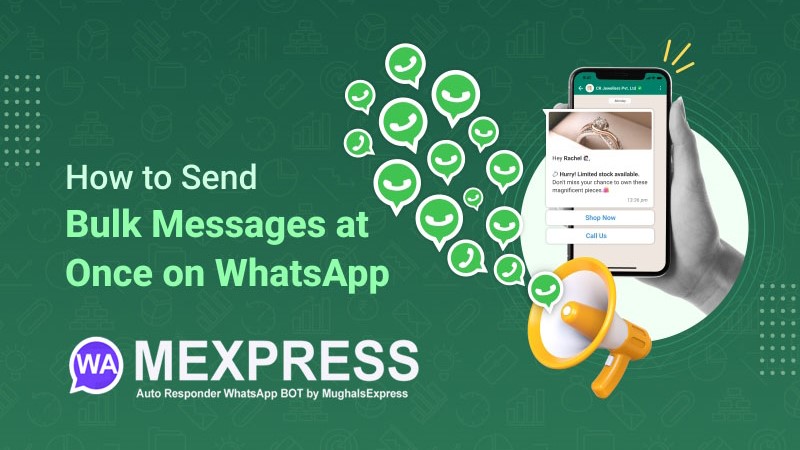
Send Bulk Message
click to Send Bulk Message option from the user sidebar
Select bulk option type Send Bulk Message or Send Bulk Message With Template
Send Bulk Message
Add Record (add a new single record)
Contact List (import contact list from contacts book)
Import Contacts From CSV (import contacts from CSV)
Messages Logs (Messages Logs)
Send Bulk Message With Template
Select Template (Select Template Used for which template you want to send your target audience)
Select Device (Select Device used for which device from the message will be sent)
Select Receivers (Select receivers used for who will receive the messages it's from your contacts book)
Sent this template to all user? (if you check this option the message will be sent to all of your targets from the contacts book)
After clicking the send now button, it will redirect to a single page for customization
Contacts Book
click to Contacts Book option from the user sidebar
Create Contact
click to Contacts Book > Create Contact option from the contacts list page
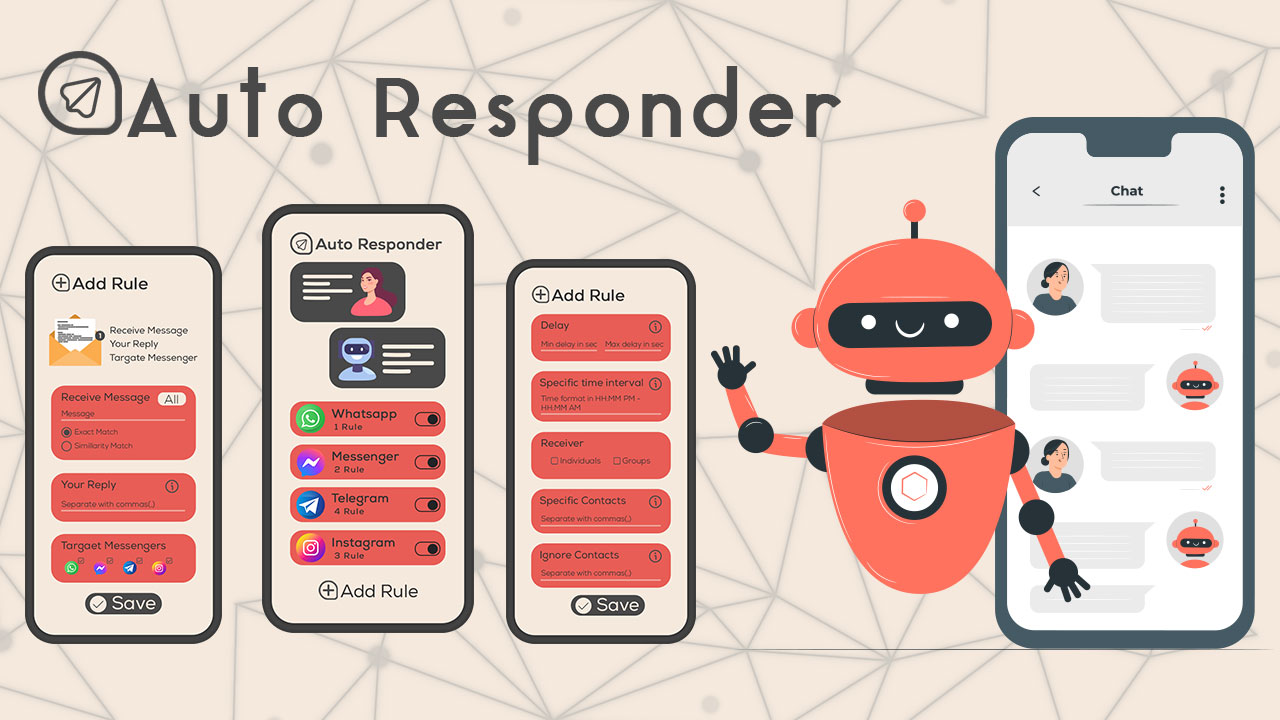
How to create a chatbot or auto-reply
It's used for when your audience will send you a message your device sends a message automatically to your audience.
click to Chatbot option from the user sidebar.
and click Create Reply button
Keyword ( it's used for set reply based on this word like 'Hi' )
Select Device (Which device from this bot will work)
Reply Type (Select Type for what type of reply the user will receive if you select template type you need to select a template)
Reply (Set reply answer like if your customer sent a message 'hi' and if you set 'hello' your audience will receive 'hello')
Message Logs
You can track your messages from this page.
click to Message Log option from the user sidebar.
Change Credentials
click to Profile Settings option from the user sidebar
Scheduled Message
click to Scheduled Message option from the user sidebar
Create Schedule Message
click to Scheduled Message > create schedule button from the Scheduled Messages Page
Subscriptions plan
click to Subscription option from the User sidebar
Plan List / Enroll a plan
click to Subscription > subscribe button from plan List it will redirect to the payment page
After successfully making payment it will redirect to the dashboard page